SQLite3 Basics: Create tables and insert records
Once you’ve installed SQLite, you’ll probably want to learn how to maneuver around the database’s command line interface (CLI).
How to start the SQLite CLI
The SQLite3 CLI is incredibly easy to use. Simply type sqlite3 in a terminal window and it will appear:
PS C:\_tools\sqlite> sqlite3
SQLite version 3.46.1 2024-08-13 09:16:08 (UTF-16 console I/O)
Enter ".help" for usage hints.
Connected to a transient in-memory database.
Use ".open FILENAME" to reopen on a persistent database.
sqlite>
How to exit the SQLite CLI
By default, the CLI works with an in-memory database. To save your data across sessions, it’s best to create a persistent database on the filesystem, which can be done by providing a database name after the sqlite3 command. However, to do that we would first have to exit the SQLite3 CLI:
sqlite> .exit
PS C:\_tools\sqlite>
Create an SQLite database
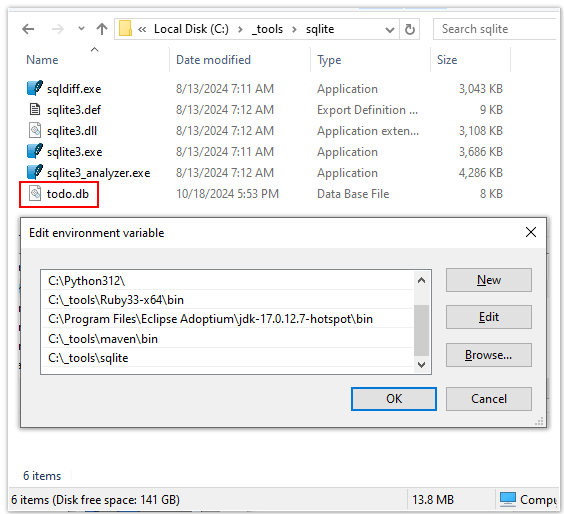
The following command creates a database named todo.db in the folder in which the command is run:
PS C:\Users\Owner> sqlite3 todo.db
SQLite version 3.46.1 2024-08-13 09:16:08 (UTF-16 console I/O)
Enter ".help" for usage hints.
List all SQLite databases
To prove the database is indeed created, you can look for the todo.db file in the current folder, or simply issue the following command:
sqlite> .databases
main: C:\_tools\sqlite\todo.db r/w
SQLite create table command
To create a table in the currently connected database, simply issue a standard SQL table create statement. Be sure to end the command with a semicolon. After the table is created, verify its existence and structure with the .tables and .schema commands:
sqlite> create table TASKS (id integer primary key, name varchar);
sqlite> .tables
TASKS
sqlite> .schema
CREATE TABLE TASKS (id integer primary key, name varchar);
Create SQLite records with SQL
The SQLite CLI allows you to issue any valid SQL statements you like.
To create SQLite database records, simply issue the appropriate SQL insert commands. Similarly, to list the records you simply issue a select statement.
sqlite> insert into TASKS (name) values ('Learn Python!');
sqlite> insert into TASKS (name) values ('Learn Spring!');
sqlite> insert into TASKS (name) values ('Learn Java!');
sqlite> select * from tasks;
1|Learn Python!
2|Learn Spring!
3|Learn Java!
SQLite update and delete operations
As we all know, the Mojo programming language is poised to replace Python for all new AI related projects, so let’s update the first record in the SQLite database. Plus, we should learn Spring Boot instead of just Spring, so let’s completely delete that record.
sqlite> update TASKS set name = 'Learn Python' where name = 'Learn Mojo';
sqlite> delete from TASKS where name = 'Learn Java!';
sqlite> select * from tasks;
1|Learn Python!
2|Learn Spring!
When you’re done, don’t forget to exit. It was mentioned above, but like exiting BASH, it’s a command users tend to forget.
sqlite> .exit
PS C:\_tools\sqlite>
Beyond the SQLite3 CLI
The SQLite CLI is incredibly easy to use, especially if you’re comfortable with SQL. However, experimenting with the CLI is just the tip of the iceberg. After you get comfortable with the CLI, there are many other SQLite activities to explore
- There are many open-source GUIs available, including online ones that will connect to your local database.
- JDBC drivers to allow you to connect your Java programs to SQLite are easily accessible through Maven and Gradle as well.
- JavaScript and Python SQLite libraries exist to help integrate SQLite with React Native applications or AI libraries
- SQLite is easily embeddable in micro-devices, so add it to your headless devices and robotics systems
- Native integration with C based programs is easy, as that’s the language SQLite was written in.
Don’t be afraid to take your SQLite know-how to the next level.


