'Java Not Recognized' Error Fix
How to fix the ‘Java not recognized’ error
Here are the three easiest ways to fix Java’s “not recognized as an internal or external command” error:
- Install or reinstall Java and the JDK on your computer
- Add Java’s bin directory to the computer’s PATH
- Restart the command prompt, terminal window or PowerShell

If the JDK is not installed or the PATH is misconfigured, a ‘Java not recognized’ error results.
Is Java installed?
To run the Java command, first you must have Java installed. This means either the Java Runtime Environment (JRE) or the full Java Development Kit (JDK).
There are many ways to install Java on Windows or Ubuntu Linux. Here are two simple examples.
Install Java on Ubuntu
To install Java on Ubuntu, a single apt install command is sufficient:
sudo apt install default-jre
Setting up default-jre (2:1.11-72build2) ...
Install Java on Windows
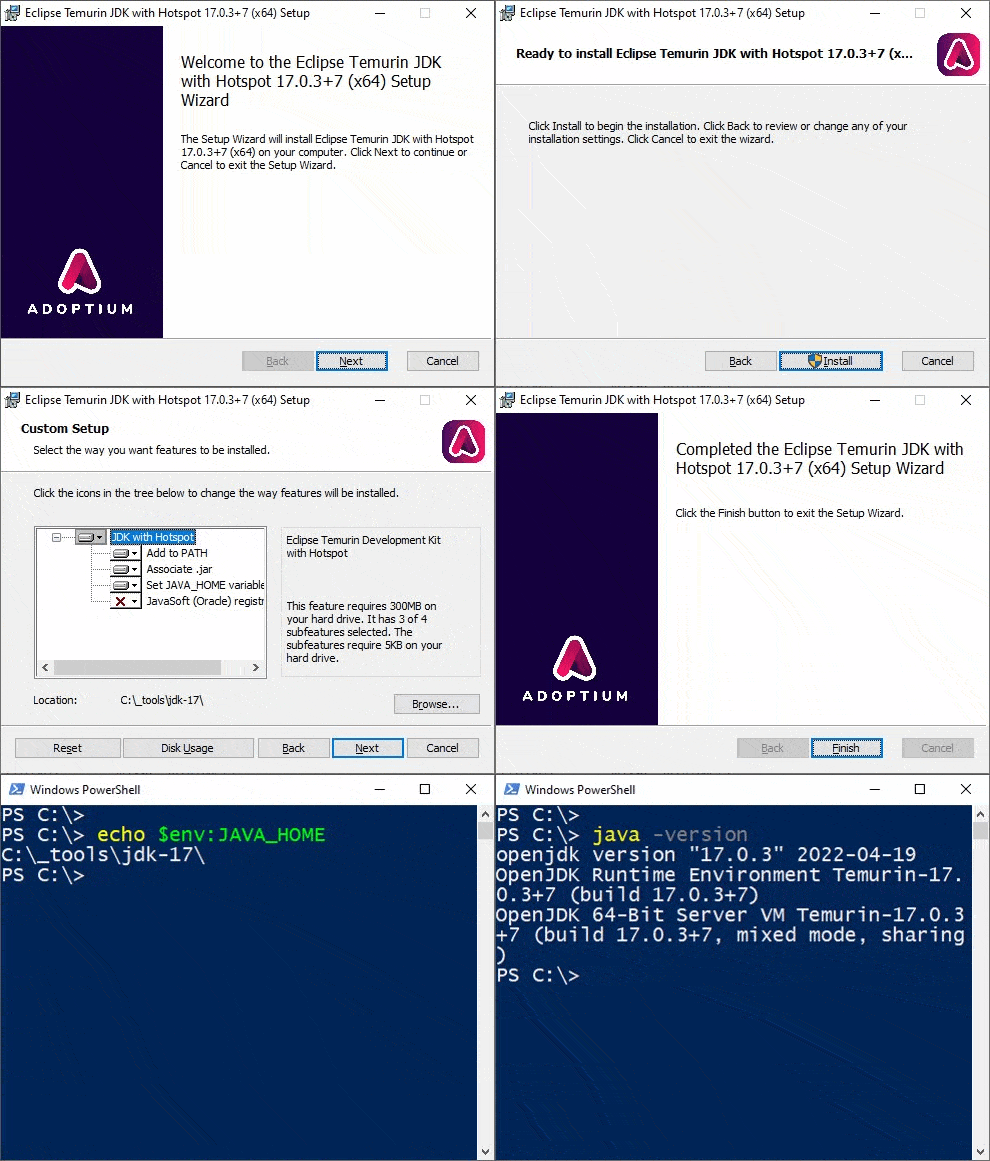
To quickly perform a Java install on Windows, download the Adoptium JDK and run the .msi file, selecting all of the default options.

If Java is not installed, you will not be able to fix the ‘Java not recognized’ error.
Add Java to the PATH
You’ll find the Java executable file in the JDK installation’s \bin directory.
If the \bin directory of the JDK or JRE is not added to the Windows or Linux PATH variable, programs may not be able to find it at runtime. This would certainly cause the “Java not recognized” error, even if the JDK or JRE is properly installed.

Make sure Java’s /bin directory is on the path to avoid internal or external command errors.
Restart the terminal window
The terminal window and the command prompt only read environment variables when they first start up.
If the JDK has been installed and the PATH variable set properly, you will still encounter a “‘Java not recognized” error if you did not restart PowerShell or the command prompt.
Restart your terminal window, or the application that needs to find the Java command, and try again. The “Java not recognized” error should go away for good.
Full text of Java error
The full text of the Java not recognized error is as follows:
C:\java-error-fix> java -version
'java' is not recognized as an internal or external command,
operable program or batch file.
When Java is installed and configured properly, this error will go away.


