How to git shelve changes and save local files
Before we start, let’s set the record straight. There’s no such thing as a git shelve command.
The term ‘shelve’ references a commonly understood process that takes some temporary file changes, saves them locally and outside of the current version control system and then returns to those files at some point in the future. This concept is built right into the Git tool, but it’s not named shelve. The git shelve equivalent is stash.
Git shelve vs. stash
The git shelve and stash confusion originally stems from the JetBrains IntelliJ IDE. It had a function called shelve that was popular with users, and the term has been ingrained into the developer vocabulary. But when you say git shelve, you really mean the equivalent ‘git stash‘ command.
How to shelve changes in Git
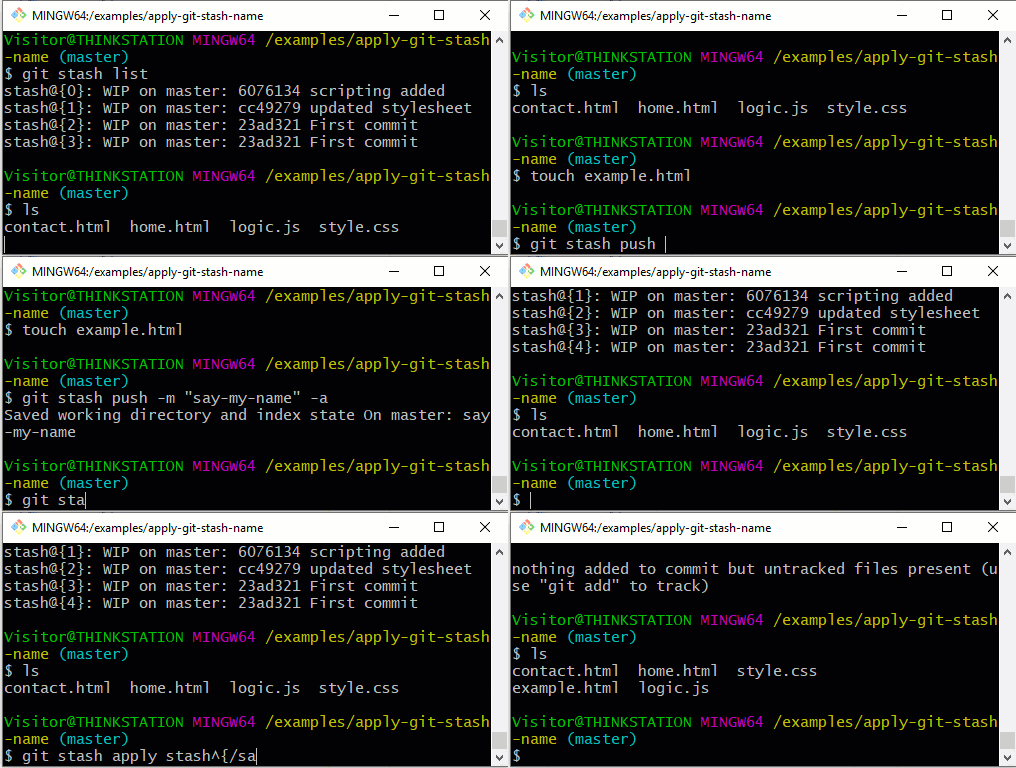
Issue the following ‘git stash’ name command to perform a successful shelve in Git:
/example/git shelve vs stash (branch)
$ git stash push -m “git shelve changes”
While this examples uses a git stash name to help identify elements in the stash list, it’s not required.
A developer can then perform a pop or apply to bring the git shelve changes back:
/example/git stash vs shelve (branch)
$ git stash apply
Stash is the git shelve equivalent
Again, there is no shelve command in Git. If a developer feels compelled to create one, they can always add an alias that triggers the stash command.
However, I feel that this would just compound the ‘git stash’ and shelve confusion. When you need to shelve changes with Git, use the ‘stash’ command.


